| | How to install a PTO rear drive on your tractor |  |
|
|
|
| Author | Message |
|---|
FOSWMT
Member


Join date : 2013-07-28
Points : 4329
Posts : 163
 |  Subject: How to install a PTO rear drive on your tractor Subject: How to install a PTO rear drive on your tractor  October 19th 2013, 9:23 am October 19th 2013, 9:23 am | |
| I do not i think have a PTO drive on my Gazelle W11 tractor and am wondering what all the party look like I have found a diagram but wonder if this is how it is done on my machine it did come with an odd tube with horns on it ? 
Last edited by FOSWMT on October 29th 2013, 2:25 pm; edited 1 time in total | |
|
  | |
FOSWMT
Member


Join date : 2013-07-28
Points : 4329
Posts : 163
 | |
  | |
FOSWMT
Member


Join date : 2013-07-28
Points : 4329
Posts : 163
 | |
  | |
FOSWMT
Member


Join date : 2013-07-28
Points : 4329
Posts : 163
 | |
  | |
FOSWMT
Member


Join date : 2013-07-28
Points : 4329
Posts : 163
 |  Subject: Re: How to install a PTO rear drive on your tractor Subject: Re: How to install a PTO rear drive on your tractor  October 20th 2013, 9:21 am October 20th 2013, 9:21 am | |
| Have re-cut PTO access to its neater . Am now wondering how far to cut the back up to allow access for the belt . I presume it will have to be at least 2" from the sides to allow for the bolt holes but I dont know how far up it should be. The new cut hole from the underside 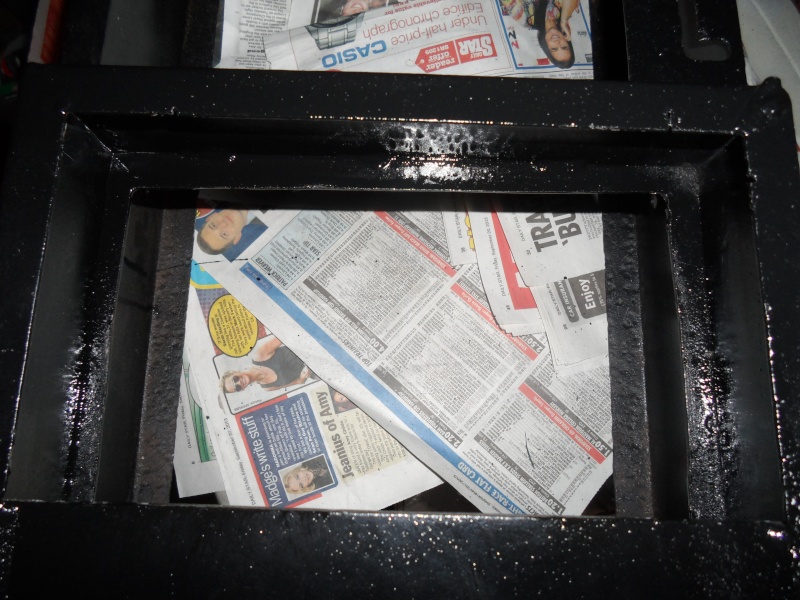 My rear panel currently looks like this :  It fits snuggly down to the chassis. I intend to cut this 2" from either side and up far enough to fit a flap . I really could do with some measurements for this? Also does anyone know anything about pully's types please . It looks like I will have to drop transaxle to remove and fit a different pully . Any Idea whats available and what will work with PTO | |
|
  | |
FOSWMT
Member


Join date : 2013-07-28
Points : 4329
Posts : 163
 |  Subject: Re: How to install a PTO rear drive on your tractor Subject: Re: How to install a PTO rear drive on your tractor  October 20th 2013, 11:08 am October 20th 2013, 11:08 am | |
| Have re measured and I have about 3" from each side before i get into the bottom bolt holes . I have 6 inches vertically to make a hole . I have seen this but it doesnt give you much idea of dimensions.  | |
|
  | |
FOSWMT
Member


Join date : 2013-07-28
Points : 4329
Posts : 163
 | |
  | |
FOSWMT
Member


Join date : 2013-07-28
Points : 4329
Posts : 163
 |  Subject: Re: How to install a PTO rear drive on your tractor Subject: Re: How to install a PTO rear drive on your tractor  October 20th 2013, 11:34 am October 20th 2013, 11:34 am | |
| This would be what it looked like 3" in leaving the bolt on the back in place The height of this panel is 6" . I am wondering if i can adapt a flap from a lawn mower to cover this pannel I am thinking this is not as wide as the one I have a photo off Someone must have this on their tractor I could really do with some measurements please? 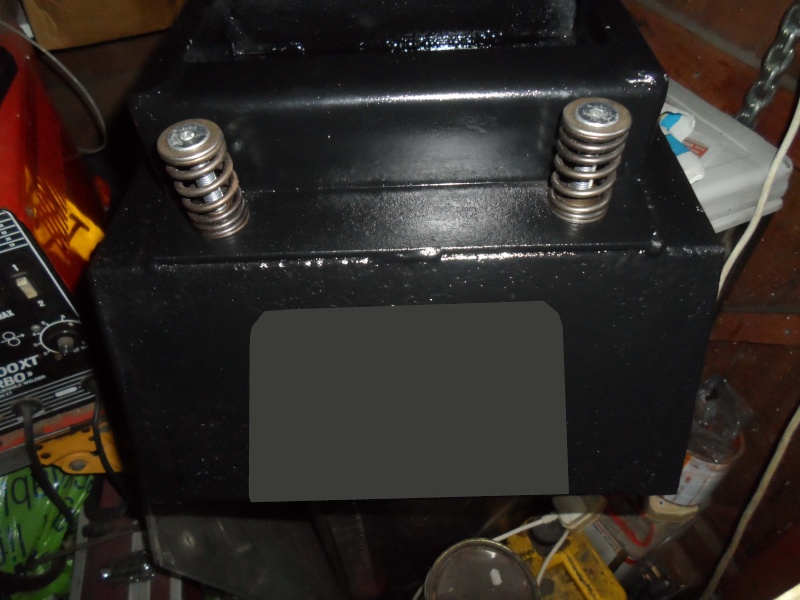 | |
|
  | |
FOSWMT
Member


Join date : 2013-07-28
Points : 4329
Posts : 163
 |  Subject: Re: How to install a PTO rear drive on your tractor Subject: Re: How to install a PTO rear drive on your tractor  October 20th 2013, 11:49 am October 20th 2013, 11:49 am | |
| If I take it back to the seam this would loose the one rear bolt hole and would give around an 1" all the way round this looks more like the red tractor picture ? Can you let me know what you think please?  | |
|
  | |
TheRainbowBoxer
Moderator


Age : 49
Join date : 2012-04-23
Points : 5701
Posts : 1091
Location : Galion, OH
 |  Subject: Re: How to install a PTO rear drive on your tractor Subject: Re: How to install a PTO rear drive on your tractor  October 22nd 2013, 10:36 pm October 22nd 2013, 10:36 pm | |
| Sorry you're not getting any replies on this FOS...
I've not seen anyone on here work with PTOs... hope you find the info you're looking for and post it up as the new authority on the subject. | |
|
  | |
FOSWMT
Member


Join date : 2013-07-28
Points : 4329
Posts : 163
 |  Subject: Re: How to install a PTO rear drive on your tractor Subject: Re: How to install a PTO rear drive on your tractor  October 23rd 2013, 1:05 pm October 23rd 2013, 1:05 pm | |
| Hi The Rainbow. I have been working on this and have cut the rear out and intend on getting some 1/2 " angle iron to go around the outside to neaten hole and prevent snagging. The inner part will become the hinged section with a stay and lock to keep fingers out. 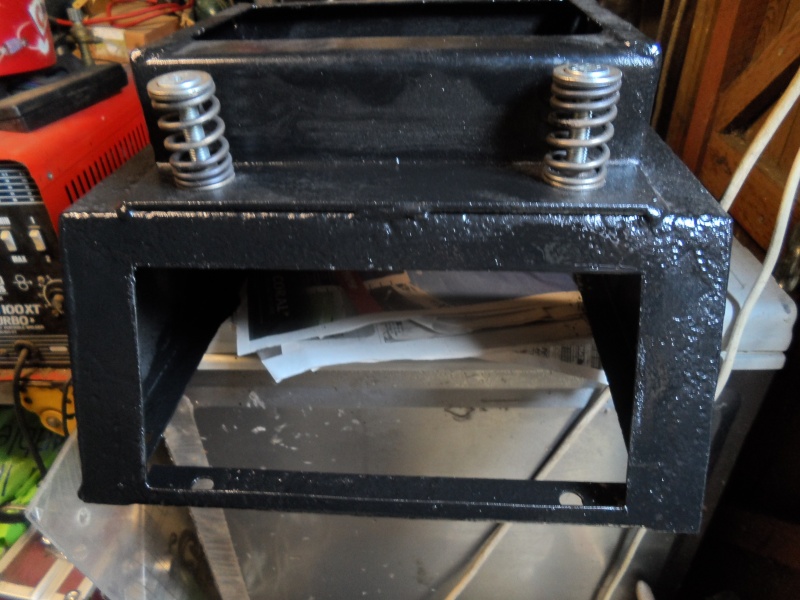 I received a Jocky wheel from a 91 Westwood which I think will all fit  With the aid of a diagram from the 91 machine I have identified the parts I require  I have received the PTO connector today 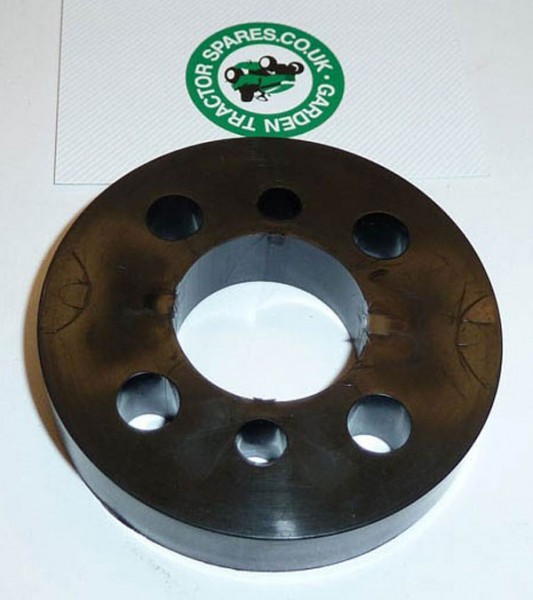 | |
|
  | |
FOSWMT
Member


Join date : 2013-07-28
Points : 4329
Posts : 163
 | |
  | |
redlinemotorsportts
Moderator


2014 Build-Off Entrant
2014 Build-Off Entrant
Age : 27
Join date : 2013-03-18
Points : 7483
Posts : 3131
Location : raleigh nc
 | |
  | |
FOSWMT
Member


Join date : 2013-07-28
Points : 4329
Posts : 163
 | |
  | |
FOSWMT
Member


Join date : 2013-07-28
Points : 4329
Posts : 163
 | |
  | |
TheRainbowBoxer
Moderator


Age : 49
Join date : 2012-04-23
Points : 5701
Posts : 1091
Location : Galion, OH
 | |
  | |
FOSWMT
Member


Join date : 2013-07-28
Points : 4329
Posts : 163
 | |
  | |
FOSWMT
Member


Join date : 2013-07-28
Points : 4329
Posts : 163
 |  Subject: Re: How to install a PTO rear drive on your tractor Subject: Re: How to install a PTO rear drive on your tractor  November 9th 2013, 4:54 am November 9th 2013, 4:54 am | |
| Have been quiet as have been busy the underneath is now painted and rear tranxaxle and new belt fitted. Strangely I found out why the tractor was not changing gear smoothly someone in the past had put a belt on and revered the clutch pulleys so that they could not turn and graded on the clutch mechanism. Have sorted this. Had a lucky find and have found a lot of the parts from a tractor that was to be broken: a T1200 i think from 1988. These donor bits look very good:  It seems that the PTO gear box had been fitted incorrectly and that the pto shaft had been hitting the pulley and been driven from that. I removed the PTO shaft from the gearbox by first removing the top pulley. The pulley came of with my method i found on Youtube to use candle wax melted into it and drove it out easily . This enabled me to unbolt the PTO gearbox top. I used a puller to pull the top bearing off and drove the other out through the bottom. This has given me the shaft and I have ordered a new one. You can see the damage this did to the shaft. 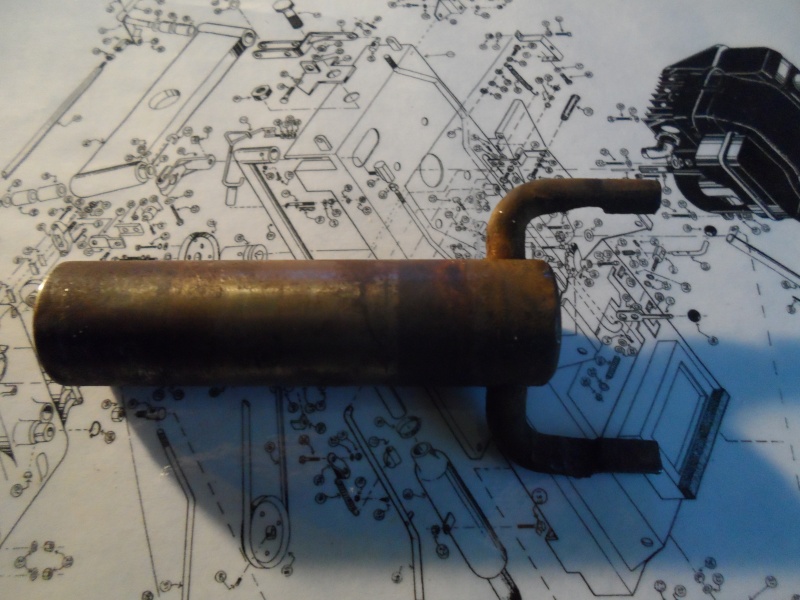 | |
|
  | |
FOSWMT
Member


Join date : 2013-07-28
Points : 4329
Posts : 163
 |  Subject: Re: How to install a PTO rear drive on your tractor Subject: Re: How to install a PTO rear drive on your tractor  November 16th 2013, 11:42 am November 16th 2013, 11:42 am | |
| Finally got hold of a PTO shaft a new one for £30.00 so put gearbox back together. 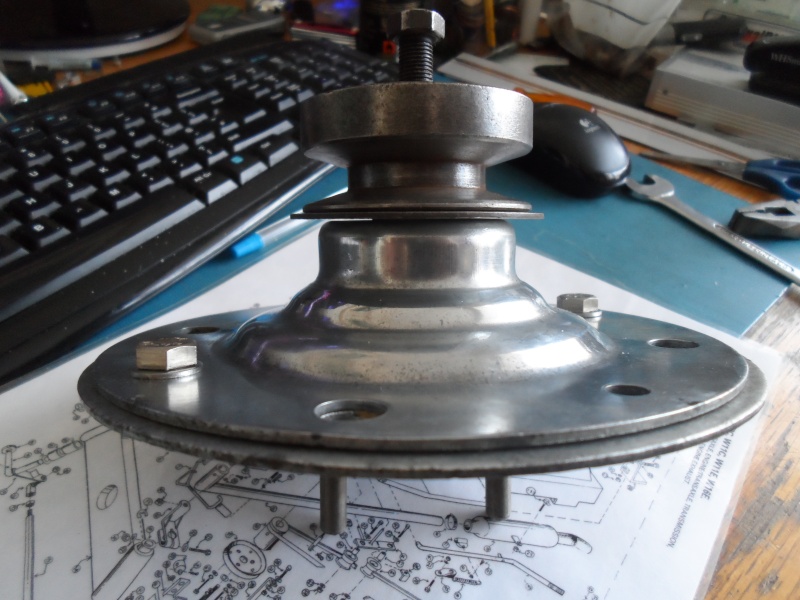 I used the PTO on the gearbox and a pencil to mark the perimeter of the bolt holes I took a bolt out to use a smaller hole and lost it in the garage . Will be off shopping on Monday again at some point. I then used the gearbox to mark holes and checked they was parallel to the chassis with a square before centre punching and drilling out.  | |
|
  | |
FOSWMT
Member


Join date : 2013-07-28
Points : 4329
Posts : 163
 |  Subject: Re: How to install a PTO rear drive on your tractor Subject: Re: How to install a PTO rear drive on your tractor  November 17th 2013, 4:31 am November 17th 2013, 4:31 am | |
| Holes drilled and chassis painted again. Spoke to my supply at westwood spares who say spacers are not on their catalog anymore as its to old . Spent yesterday going through all of their catalogs to see if i could find the two spacers they have on any of their catalogs the answer is no so have sent and email requesting sizes of the two that they have. Have decided to make a working drawing of the pulleys to see what spacers i would require in case i have to make them.  | |
|
  | |
FOSWMT
Member


Join date : 2013-07-28
Points : 4329
Posts : 163
 | |
  | |
TroyBilt Pony
Established Member


2014 Build-Off Entrant
2014 Build-Off Entrant
Join date : 2013-06-01
Points : 4810
Posts : 578
Location : West Virginia
 | |
  | |
FOSWMT
Member


Join date : 2013-07-28
Points : 4329
Posts : 163
 | |
  | |
FOSWMT
Member


Join date : 2013-07-28
Points : 4329
Posts : 163
 |  Subject: bolted in gearbox and made spacers Subject: bolted in gearbox and made spacers  December 18th 2013, 1:17 pm December 18th 2013, 1:17 pm | |
| I re-assembled PTO Gear box with bolts and found some spacers on ebay which would raise the gearbox up 10mm This with a washer gave me the correct height. I bent an 8.8 HT bolt to make the belt guard. I made it longer and inserted it in back rather than front.  I bolted this down giving me the size of the spacers i Needed to find Having been told that the Spacers for the pulley arm where obsolete. I decided I would have to make them I used the pulley inserts that are available cutting them down to fit. 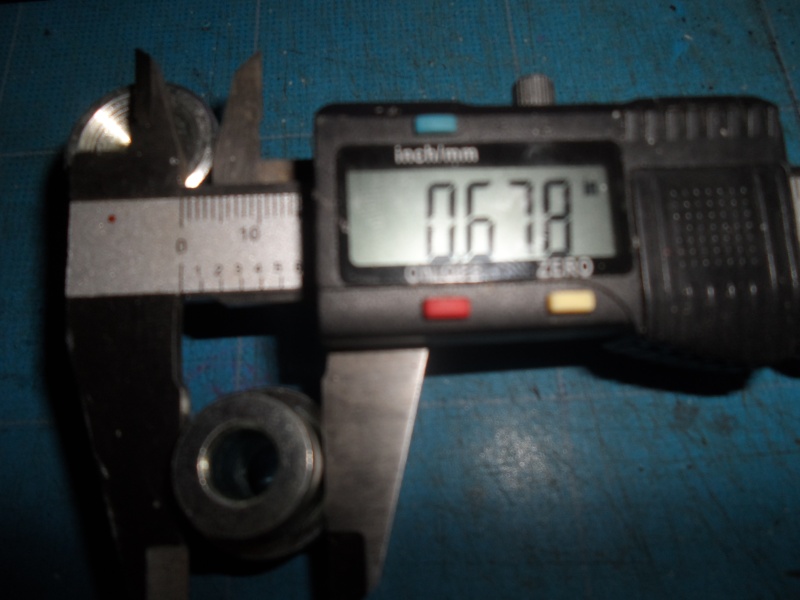 I milled these on a small lathe but thus could be done by a drill and file. 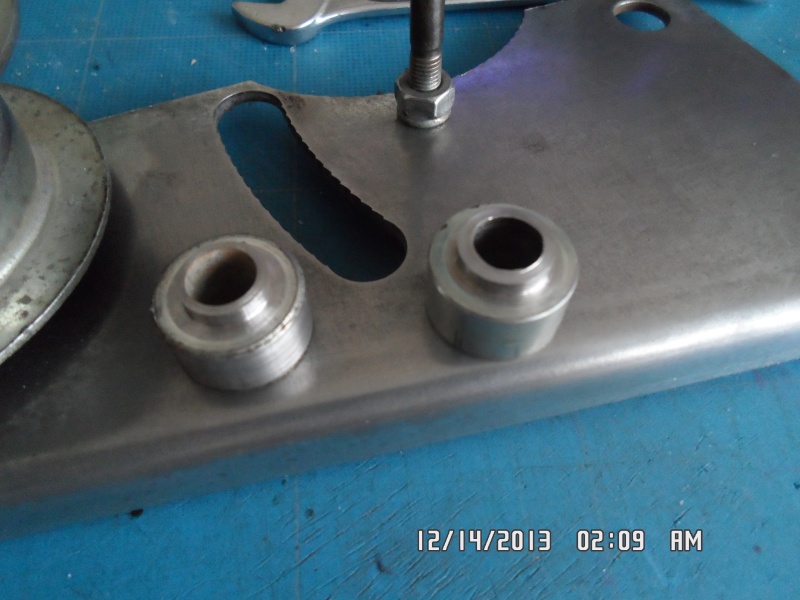 | |
|
  | |
FOSWMT
Member


Join date : 2013-07-28
Points : 4329
Posts : 163
 |  Subject: Jockey whel mounted Subject: Jockey whel mounted  December 18th 2013, 1:26 pm December 18th 2013, 1:26 pm | |
| I used the spacers i had created from the pulley spacers to make up the jokey wheel this mounted up fine I greased thoroughly. I had used 10mm bolts all around instead of the standard bolts I hoped this would make it stronger.  I received the accessory adapter back from the zinc platers it looks fabulous 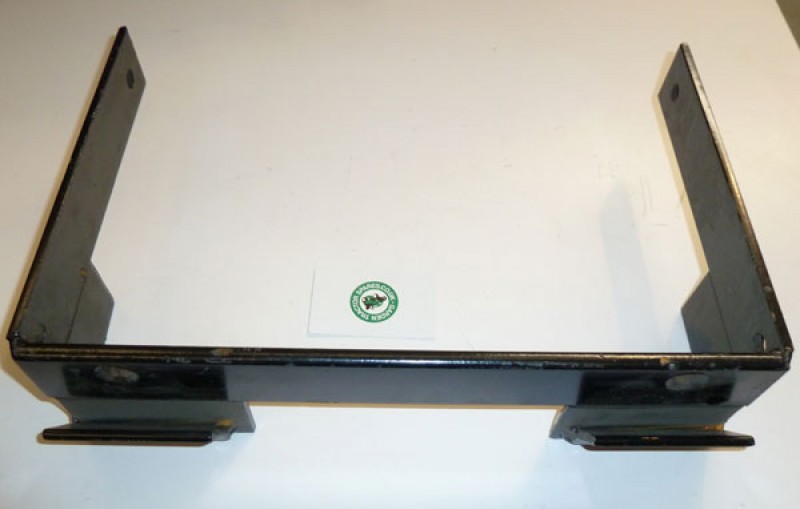 I replaced the body work to check clearance and bolted it down.  | |
|
  | |
Sponsored content
 | |
  | |
| | How to install a PTO rear drive on your tractor |  |
|


