|
| | No Keyway? No Problem!!! |  |
| | | Author | Message |
|---|
Doc Sprocket
Site VIP

2018 Build-Off Entrant
2018 Build-Off Entrant
2021 Winner of Winners
2021 Winner of Winners
1st Place Build-Off 2016
1st Place Build-Off Winner 2016
Age : 51
Join date : 2013-04-21
Points : 7320
Posts : 2914
Location : Ontario Canada
 |  Subject: No Keyway? No Problem!!! Subject: No Keyway? No Problem!!!  October 14th 2013, 8:20 pm October 14th 2013, 8:20 pm | |
| Recently, I had to hand cut new keyways into MULE's new axleshaft. Instead of a fresh write-up, here's one I did almost exactly a year ago. My trusty Tecumseh H60 had a Woodruff keyway (1/2 round) in the PTO shaft and I needed a full keyway so I cut it in. Cutting a keyway into any shaft comprises the same thing. Remember to work slowly and check your progress often. Here's the article:We've talked about cutting your own keyway on this forum before. I just ran into exactly the right situation to address this. I know that others have done it, but not much has been written. Unfortunately, the PTO shaft on my trusty (and becoming notorious) H60, did not have a standard 3/16" keyway cut along it's length. What it did have, was a Woodruff keyway. A woodruff key is a half-round piece of a specific length, rather than a basic rectangle of variable length. What it means to you, is that no regular shaft components will fit. you're either off to a machine shop to have a standard keyway cut, or you're doing it by hand. So I did. I used a length of 3/16" rectangular key stock, a small square, and a hardened steel scribe to mark the location on the shaft. Here's a tip- if you have a hard time seeing your lines, spray a very light coat of paint on the shaft, then re-scribe the lines. I had to do this on my axleshaft. Then, I put a thin kerf cutting wheel in the flexible shaft extension for my Dremel. Using the cutting wheel, I "traced" the scribe marks into the shaft, to the approximate depth required. I took off the cutting wheel and installed a grinding wheel that was a little less than 3/16" thick to remove the centre of the keyway. Carefully and gently, I ground the keyway, pausing every couple of minutes to check my progress and let the shaft cool. To check progress, I used a 3/4" bore LoveJoy coupling and the same key I used to mark the shaft. Once I reached the point where the key would just fit between the shaft and coupler, I cleaned it up a bit and called it done. I apologize for the dark, crummy pics. I used my phone, and I was racing dusk. Remember- work slowly and check your work often. Don't force the tool- cut and grind gently. This not only extends the life of the bits, but reduces the chance of slipping off your line and creating a mishap. 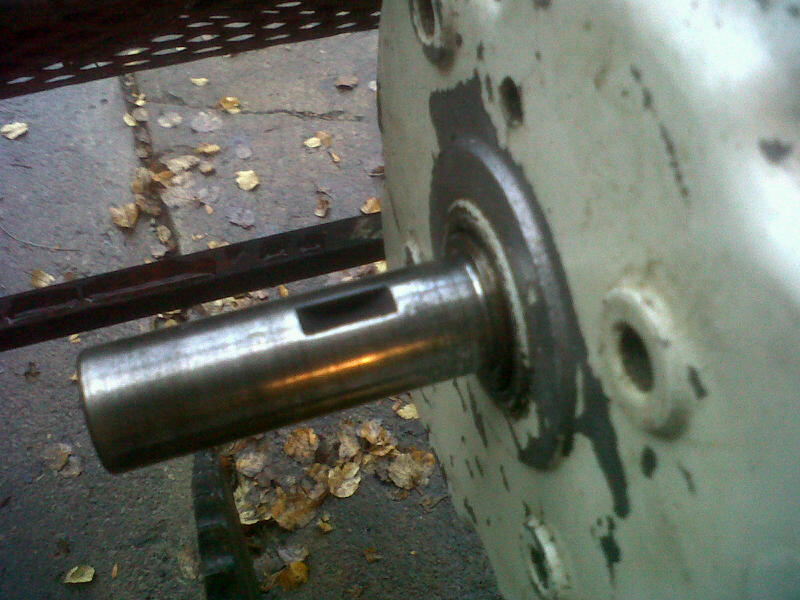 The shaft in an unaltered state with the Woodruff keyway. 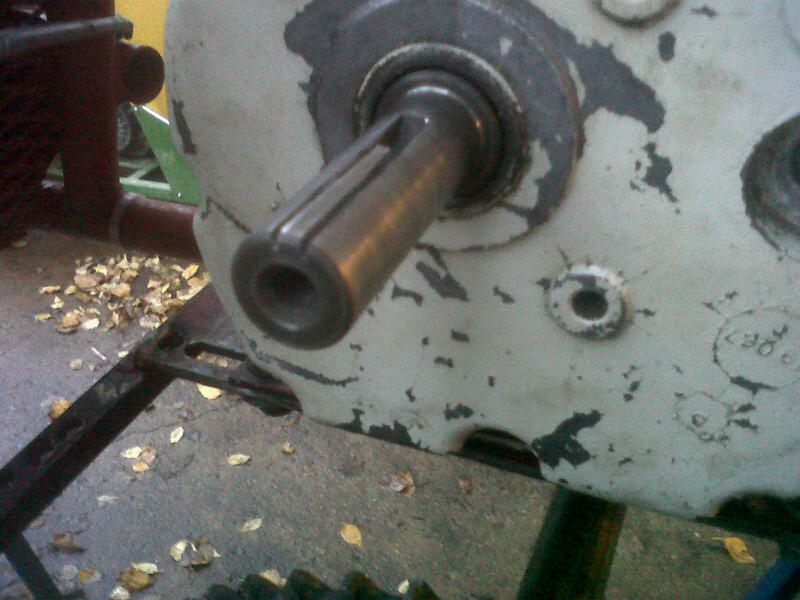 After tracing the lines with the cutting disc. 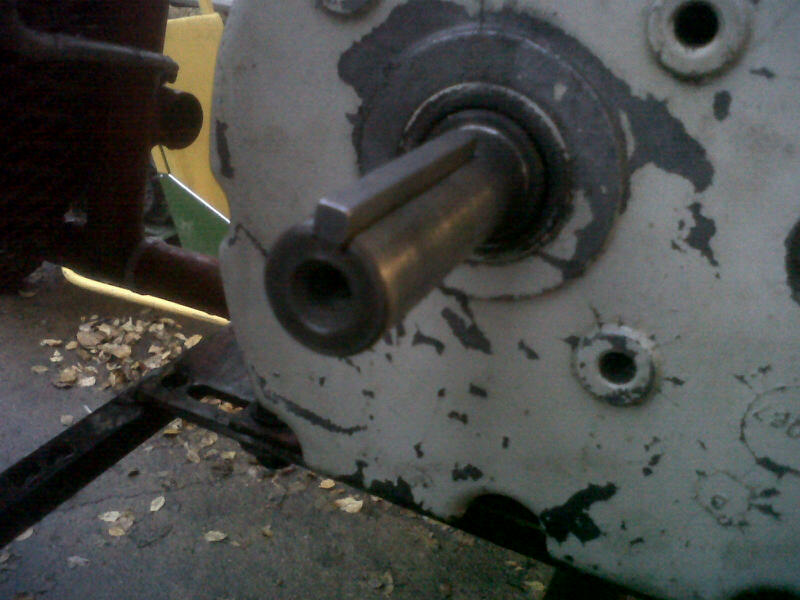 Progress pic, about halfway, checking with the key. 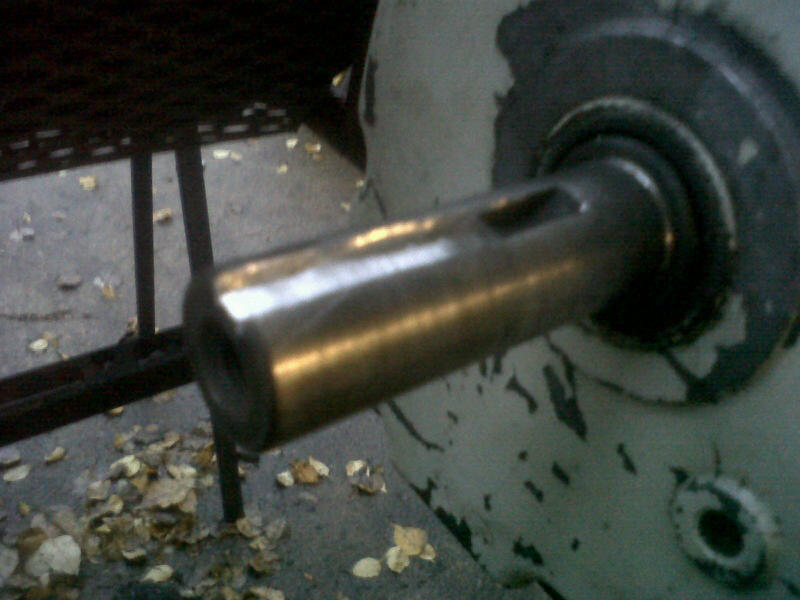 Very nearly finished. It was too dark for a picture after I cleaned it up and called it finished. Start to finish, including very carefully measuring and marking the location, was about 40 minutes. DIY, baby, DIY! 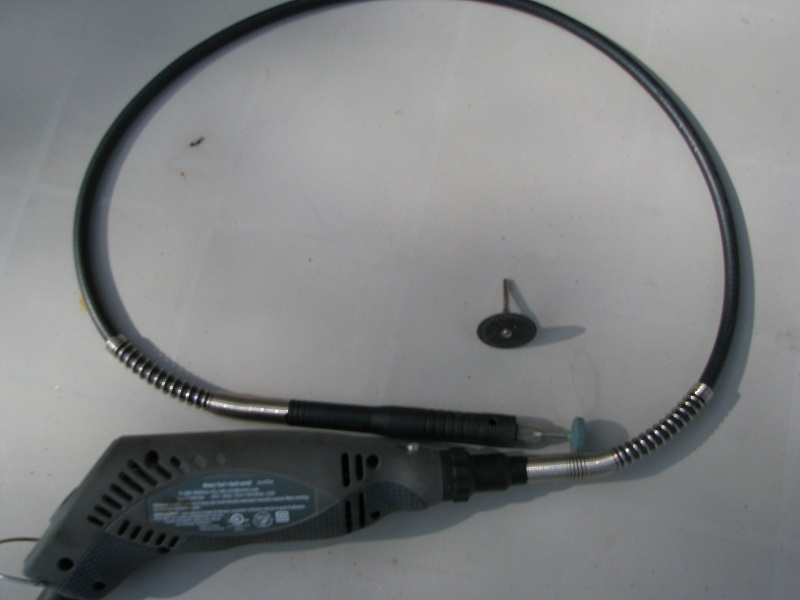 EDIT- Upon request, I have added a pic of the "Dremel" and accessories I used. In this case, the tool is a Dremel-like mini electric die grinder with a 1/8" collet. Accessories include a flexible extension shaft which you hold like a pencil and allows excellent dexterity. The cutoff wheel is a 1.25" diameter fibre-reinforced abrasive wheel with a very thin kerf. The grinding wheel is an abrasive type, 3/4" diameter, and about 5/32" thick. Not shown are a sharp carbide scribe, a 3/16" x 2" key, and a small square. | |
|   | | crazykid1994
Established Member


Age : 30
Join date : 2013-03-18
Points : 4927
Posts : 618
Location : loxahatchee, florida
 |  Subject: Re: No Keyway? No Problem!!! Subject: Re: No Keyway? No Problem!!!  October 14th 2013, 8:29 pm October 14th 2013, 8:29 pm | |
| thank you. i may have to do this if i ever get to upgrading the brakes on my murray. | |
|   | | redlinemotorsportts
Moderator


2014 Build-Off Entrant
2014 Build-Off Entrant
Age : 27
Join date : 2013-03-18
Points : 7485
Posts : 3131
Location : raleigh nc
 |  Subject: Re: No Keyway? No Problem!!! Subject: Re: No Keyway? No Problem!!!  October 14th 2013, 8:37 pm October 14th 2013, 8:37 pm | |
| Looks easy and nerve racking. You have 1 shot... I guess when push comes to shove, you dont really have alot of options. | |
|   | | Doc Sprocket
Site VIP


2018 Build-Off Entrant
2018 Build-Off Entrant
2021 Winner of Winners
2021 Winner of Winners
1st Place Build-Off 2016
1st Place Build-Off Winner 2016
Age : 51
Join date : 2013-04-21
Points : 7320
Posts : 2914
Location : Ontario Canada
 |  Subject: Re: No Keyway? No Problem!!! Subject: Re: No Keyway? No Problem!!!  October 14th 2013, 8:51 pm October 14th 2013, 8:51 pm | |
| That's why you just go slowly and carefully. Pardon the pun, but patience is the "key". And I'm far too cheap to pay a machinist if I can help it! | |
|   | | Sponsored content
 | |   | | | | No Keyway? No Problem!!! |  |
|
Similar topics |  |
|
| | Permissions in this forum: | You cannot reply to topics in this forum
| |
| |
| | Who is online? | In total there are 15 users online :: 0 Registered, 0 Hidden and 15 Guests
None
Most users ever online was 412 on January 7th 2023, 7:59 am
|
|


